
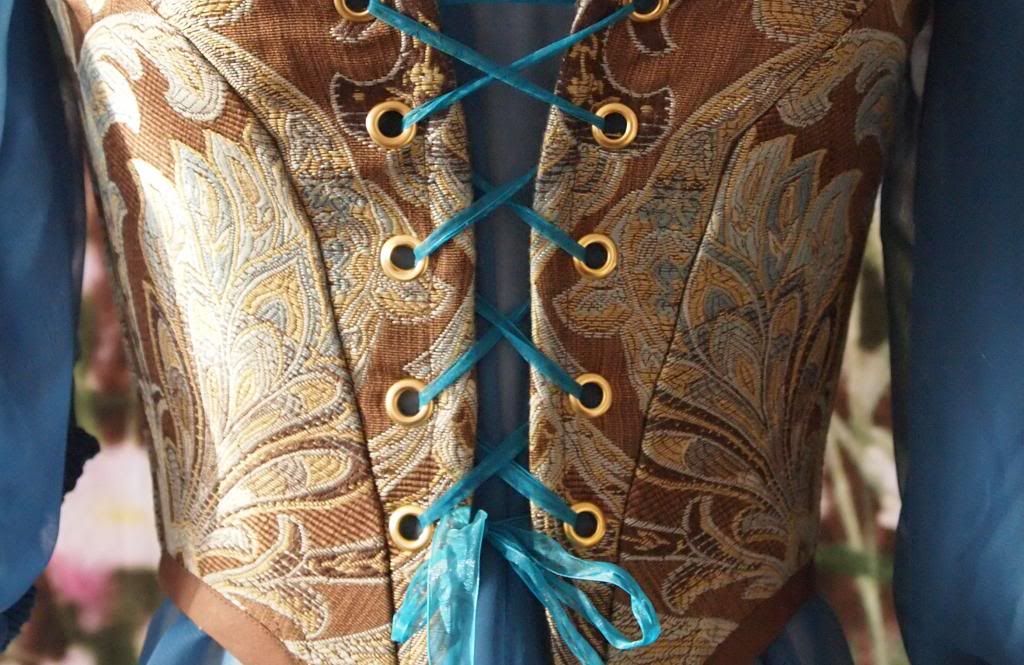
Eyelets , or Grommets, can be a practical and unique touch to many sewing and crafting projects. But sometimes they can be tricky to insert. After playing around with them a lot I found using the Sew-ology eyelet kit, is the best way to place them in fabric
(I also have a pair of pliers specifically for putting in grommets, but I do not recommend them. Although its seemly easy to use, I found that it was termpermental. If I did not apply pressure just right my eyelets would get dented. However, I found they are useful for poking holes in the fabric)
Step 1.) Make a small hole in the fabric

Step 3.) Put the side of the eyelet that has the longer post through the right side, so it sticks out on the wrong side

Step. 4.) Place the black part of the tool onto the eyelet to hold it in place

Step 5.) Place the other part of the eyelet on top of the post part. It has a jagged side also, make sure that side is facing down and not exposed on the wrong side.
Step 6.) Place the metal part of the tool so that it holds the eyelet in place.

Step 7.) Firmly tap on top of the metal tool a few times with a hammer, make sure this is performed on a hard, sturdy surface.

If you do this correctly, the teeth part should be evenly splayed out over the other part of the eyelet ring. These edges will not be present on the right side of the fabric.

That all :) If any of these directions were not clear, I will be happy to answer any questions in the comments.

No comments:
Post a Comment